How do you take a store-bought dessert from basic to showstopping in just a few simple steps? Dip it in marbled white chocolate, of course! I’ve been swooning over marbled desserts lately. For example, marbled Oreos are ridiculously cute. These Marbled Chocolate Ice Cream Bars are really fun to make – and easy to, thanks to a store-bought shortcut.
I made a few different color combinations while experimenting with my Marbled Chocolate Ice Cream Bars. I ended up liking the combination of silver, gold, and pearl white best. This palette gave the bars a really gorgeous natural vibe and had the added bonus of NOT turning my mouth rainbow colors while I ate it.
 Something to keep in mind when making these bars is the potency of the food dye you’re working with. The swirls on my rainbow pops looked amazing, but they were super messy. If I were making these for a party, I think I would stick to lighter, less intense colors.
Edible glitter or gold foil adds an extra pop of color and sprinkle of texture to the bars. I opted for a sugar-based glitter, but real gold foil would look especially beautiful. I could see Marbled Chocolate Ice Cream Bars being super cute with heart or star-shaped edible glitters—or crushed rock candy!
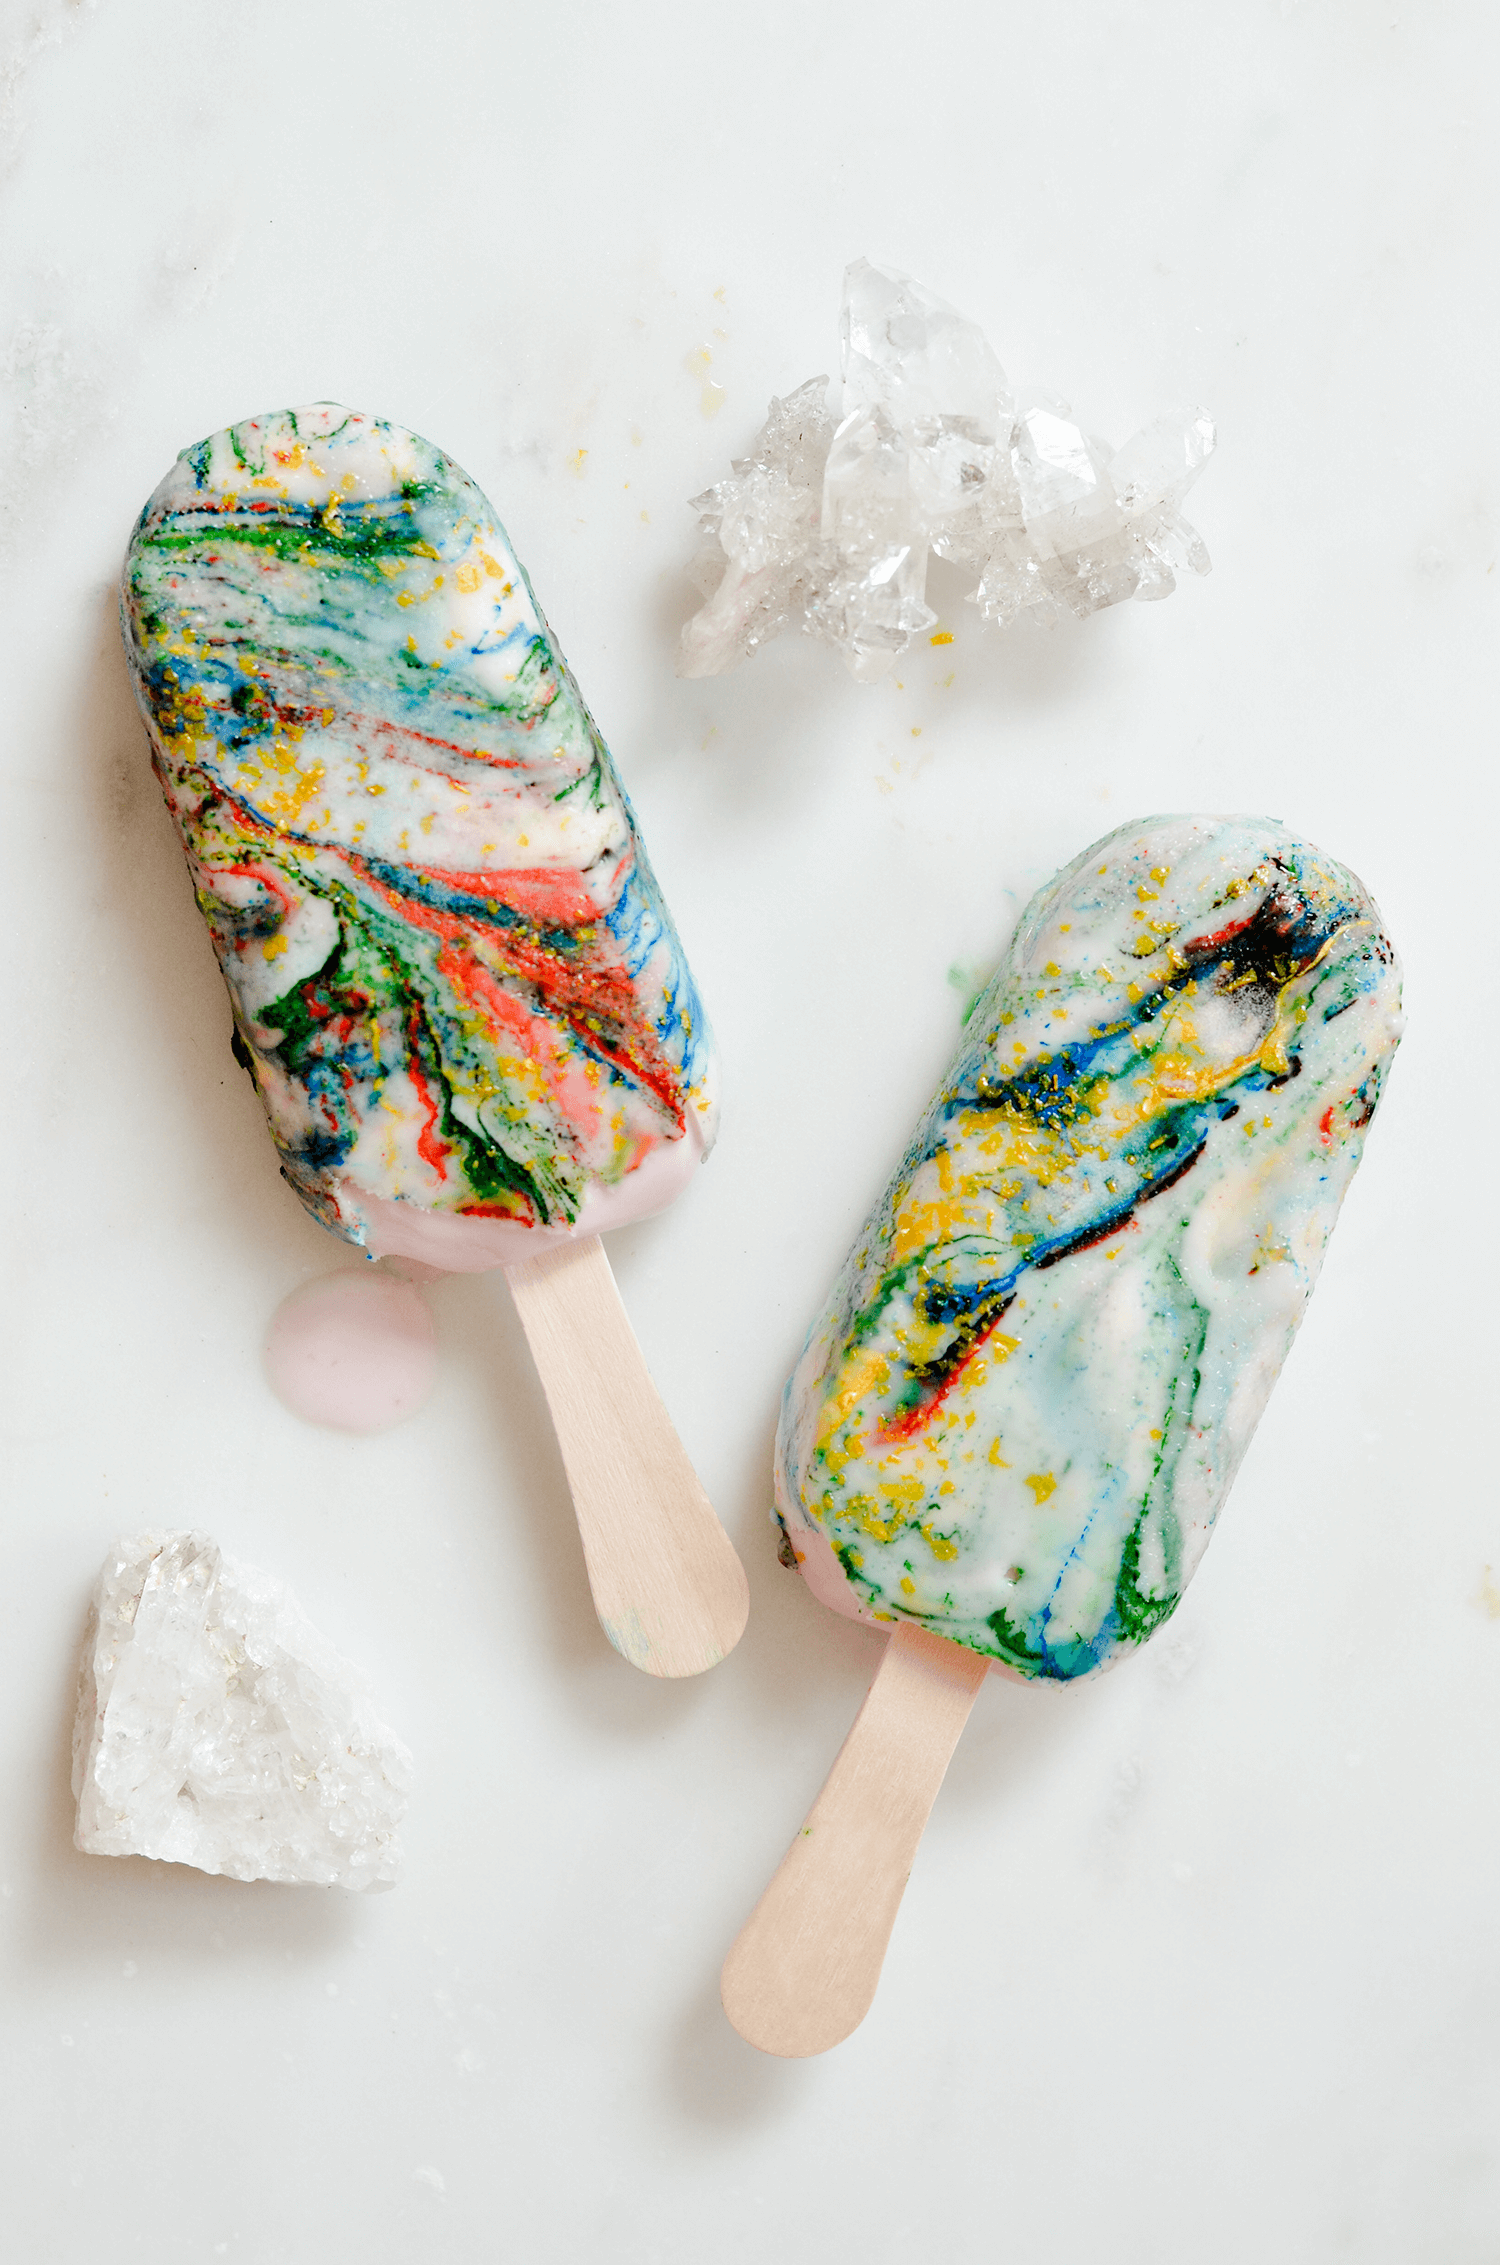
Working with light colored ice cream bars will give the white chocolate coating its best opportunity to shine. I found strawberry flavored frozen yogurt bars in my local grocery store. The blend of strawberry and white chocolate on my Marbled Chocolate Ice Cream Bars was delicious! I think this project could work well with milk or dark chocolate ice cream bars as well, but you may need to double-dip the bars to get good coverage. I’d suggest dipping the bars in plain white coating before dipping a marbled layer.
 Supplies:
8 ice cream bars
10 ounces white chocolate melting wafers
1 cup coconut oil (refined)
2 tablespoons corn syrup
metallic food dye
gold edible glitter or gold leaf flake
wax paper
Step One: Combine melting wafers and coconut oil in a heatproof bowl and microwave in 30-second bursts until fully melted. You can also use a double boiler for this step, if you prefer. Once the ingredients have melted, add corn syrup and stir well. Allow the coating to cool down to room temperature. If you use it while it is still hot, it could melt your ice cream! While you are waiting, place a wire cooling rack over a plate or baking sheet and set aside. Line a small tray with wax paper and place in the freezer to chill.
 Step Two: Once the mixture has fully cooled, pour about 1/3 of the coating into a wide shallow bowl (a pie plate is perfect).
 Step Three: Drizzle lines of food dye into the bowl. I used a shimmering white, silver, and gold with my first batch, and a rainbow palette with my second batch.
 Step Four: Use a toothpick or chopstick to swirl the lines of color into a marbled pattern.
 Step Five: Remove and unwrap the ice cream bars one at a time. Carefully dip each bar into the candy shell, dipping just one side of the bar each time. Let any excess coating drip off, then place on the wire rack and sprinkle with edible glitter or gold leaf. Pop the bar onto the tray waiting in the freezer before taking out the next bar. Working with the bars one at a time will help to keep them from melting too quickly. Repeat the last three steps with the remaining ice cream bars.
 Step Six: Allow the Marbled Chocolate Ice Cream Bars to chill in the freezer for at least one hour before serving. If you plan to keep them in the freezer for more than a couple of hours we suggest wrapping them in cellophane or plastic wrap.


 I hope you’ll have fun marbling your own edible works of art! Marbled Chocolate Ice Cream Bars would be a really fun project to work on with kids, too. Little ones will love swirling the colors and dipping ice cream bars—not to mention licking up the lovely, drippy mess that would inevitably become part of the process.
